

Pentair Hypro is a global leader in innovative spray technology specializing in the design and manufacturing of highly developed product lines, which include spray pumps, spray nozzles and spray components for the agricultural industry.

For over 75 years, Hypro solutions have helped customers achieve breakthrough performance by developing best-in-class fluid handling and precision application componentry and delivering in-depth technical support, uncompromised customer service, and exceptional quality.
Agricultural Products


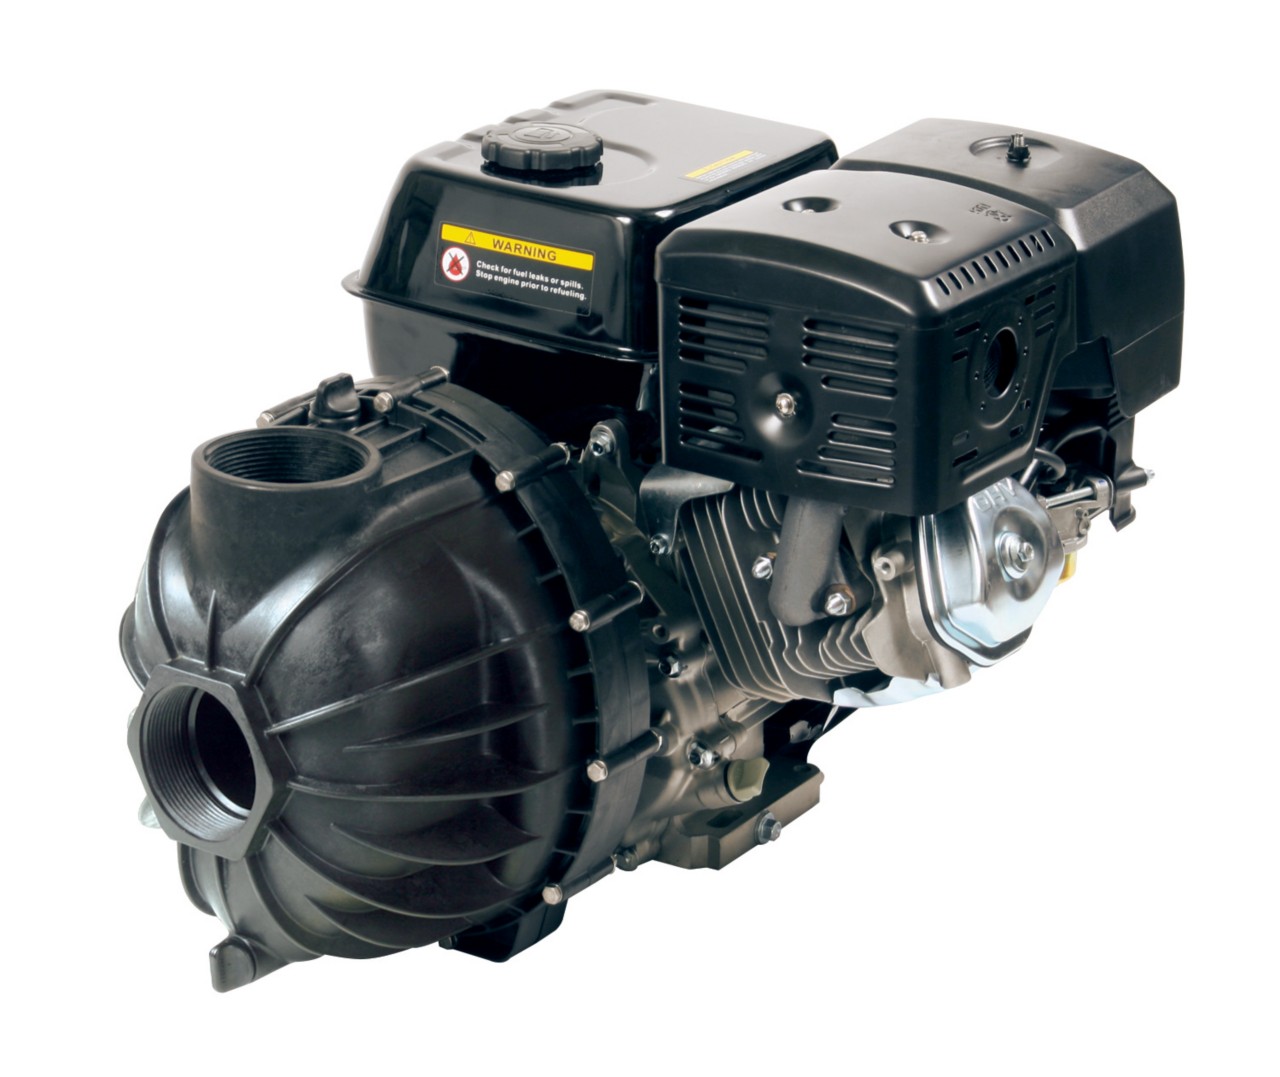
Handle liquid transfer jobs with ease with industry-leading, high-power performance.
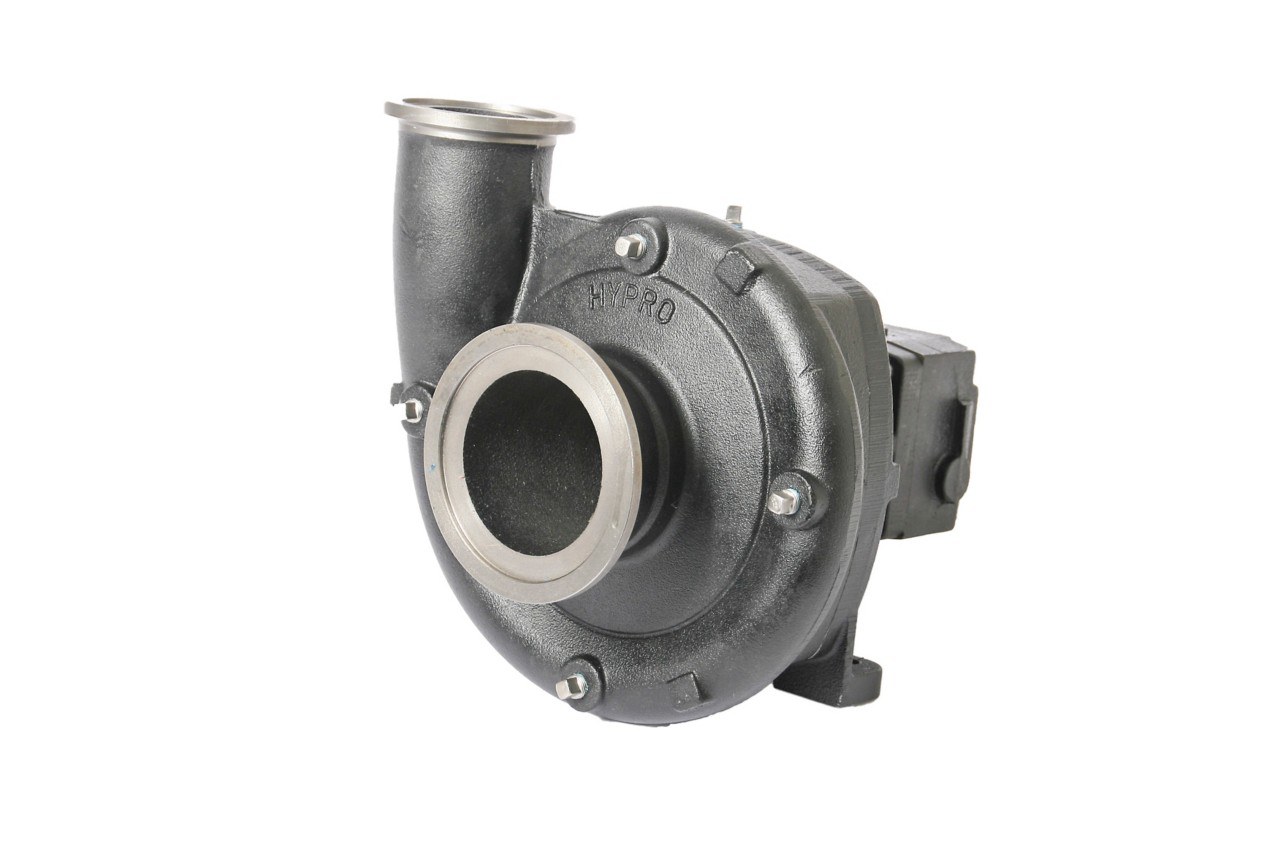
Help protect your pump against the harshest application environments with ForceField™ Wet Seal Technology.
Spray Nozzles


- /content/dam/extranet/nam/industrial-flow-technologies/flow/hypro/banners-signage/online-banners/hyp13166asp-hi-flow-carousel-image-08-15-23.jpg
- /content/dam/extranet/nam/industrial-flow-technologies/flow/hypro/banners-signage/online-banners/hyp13166asp-hi-flow-carousel-image-08-15-23.jpg
- /content/dam/extranet/nam/industrial-flow-technologies/flow/hypro/banners-signage/online-banners/hyp13595asp-uld-carousel-image-08-15-23.jpg
- /content/dam/extranet/nam/industrial-flow-technologies/flow/hypro/banners-signage/online-banners/hyp13653asp-uldm-carousel-image-08-15-23.jpg
- /content/dam/extranet/nam/industrial-flow-technologies/flow/hypro/banners-signage/online-banners/hyp13658asp-3d-carousel-image-08-15-23.jpg
- /content/dam/extranet/nam/industrial-flow-technologies/flow/hypro/banners-signage/online-banners/hyp14488asp-guardianair-twin-carousel-image-08-15-23.jpg
Irrigation Pumps
Find more solutions for your irrigation needs with Pentair Berkeley Pumps.
Spray It! Mobile App
Not Sure Which Spray Nozzle You Need?
Identify the right nozzle for your application anytime, anywhere with our convenient mobile app.


Find a Dealer
Pentair Hypro Resources
Your favorite resources are stocked with information to help you.